Gathering Sensor Data using Keyword Spotting
With the growing adoption of neural networks, microcontrollers have become an exciting new area for their practical application.
The Development Board
My journey started with the course Fundamentals of TinyML and the Tiny Machine Learning Kit.
This kit includes an Arduino Nano 33 BLE Sense, which includes a range of sensors:
9 axis inertial sensor
humidity, and temperature sensor
barometric sensor
microphone
gesture, proximity, light color and light intensity sensor
The microcontroller features a better CPU than traditional Arduino boards, has a small form factor. It also features an integrated voltage regulator, which makes it easy to connect batteries with higher voltage levels.
Other considerations
I also purchased the Seeed Xiao ESP32C3, which includes WiFi as well as the XIAO nRF52840 Sense, which includes a microphone and an inertial sensor and connected them to the Round Display. However, the Arduino library, which the company provides needed many configuration changes. The two Seeed microcontrollers also did not include an internal voltage regulator, which is why I ultimately went back to the Arduino Nano. Although the Arduino Nano does not come with an integrated battery management system, it still required less external modules than the Seeed microcontrollers.
The components
I also purchased an OLED display, a Battery Management System, a Micro-SD reader as well as a 3.7V Lithium-Polymer Battery. All of the components were compatible with standard Arduino libraries and used either SPI or I2C.
The algorithm
The algorithm I wanted to run on the controller consisted of a keyword trigger, as well as functionality to display the trigger word on a screen and some functionality to save both the detected trigger word and the sensor data to an Micro-SD card.
While there is some publicly available code which allows running tflite-micro (Tensorflow for Microcontrollers) using the standalone library, I decided to use Edge Impulse. Edge Impulse also takes care of acquiring data, slicing it, preprocessing the Audio data using the Mel Frequency Envelope, selecting the best model architecture and hyperparameters and creating either an Arduino or C++ library.
The final loop includes the inference, which detects the keywords in a one second timeframe, prints the keyword to the display, and saves the keyword audio, which is collected in a cyclical buffer, to the SD card.
The saved audio data is then converted to the wav file format and classified again using a more powerful model, which is not resource constrained. The models which were considered were a 1D CNN, a 2D CNN, ResNet, EfficientNet and a Vision Transformer.
Model Name | Total Parameters | Size (KB) | Test Loss | Test Accuracy |
|---|---|---|---|---|
1D Neural Net | 203783 | 796 | 0.60 | 79% |
2D Neural Net | 109959 | 429 | 0.32 | 91% |
ResNet | 43079 | 168 | 0.28 | 93% |
EfficientNet | 26311 | 103 | 0.22 | 94% |
Vision Transformer | 80479 | 314 | 0.42 | 91 |
As seen in the table, the EfficientNet architecture performed best. It had the highest accuracy and the smallest size. This is the code for the simplified EfficientNet architecture:
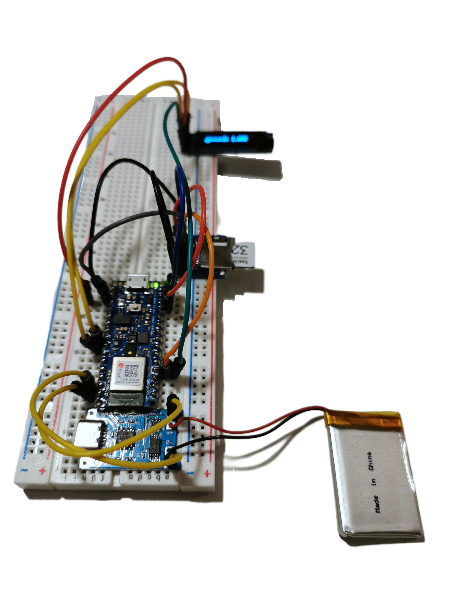
Arduino Nano BLE Sense, Charger Module, Battery, SD-Card Reader, SD-Card, OLED-Display on a breadboard
The case
I designed a basic case for the microcontroller and its components using a snap-fit mechanism. I am planning on creating separate cases for the individual components to tidy up the components and to make the charging port, SD card slot and micro usb accessible from outside.
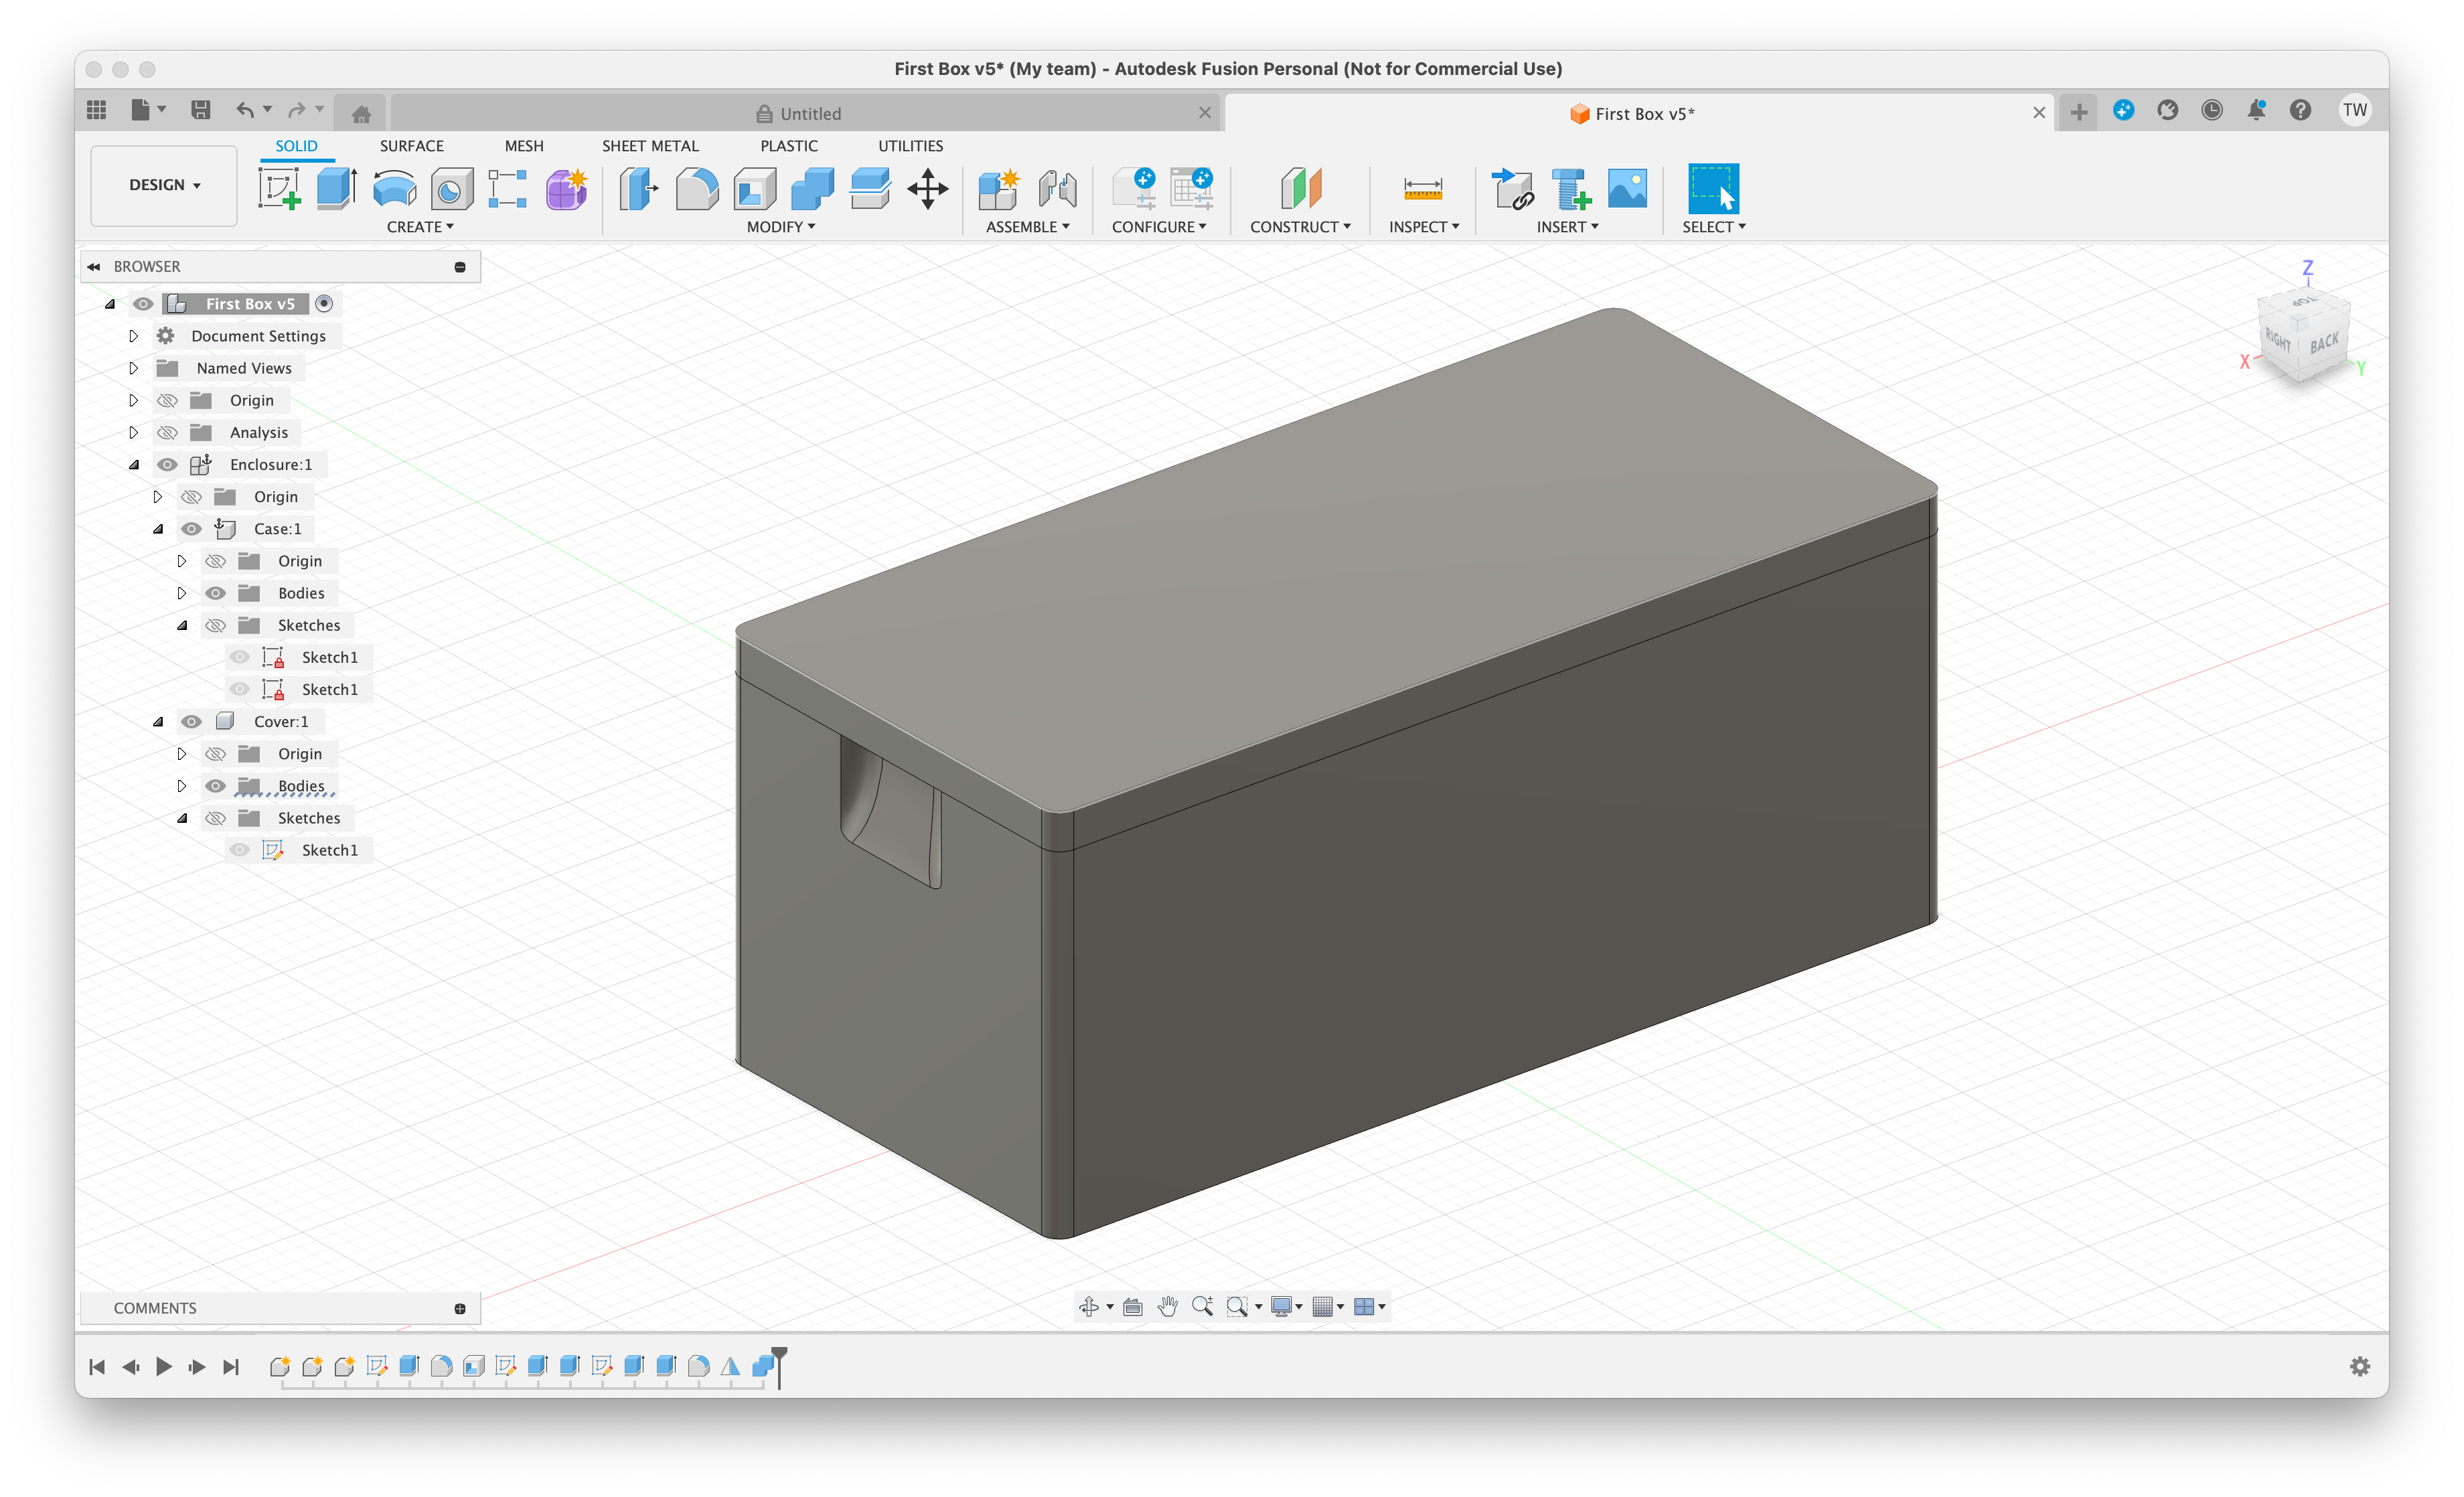
A simple case for the microcontroller, designed in Fusion 360.
Referenced Links

pll.harvard.edu
Fundamentals of TinyML | Harvard University
Focusing on the basics of machine learning and embedded systems, such as smartphones, this course will introduce you to the “language” of TinyML.


store.arduino.cc
Arduino Tiny Machine Learning Kit
Discover the Arduino Tiny Machine Learning Kit – beginner-friendly kit to build and train ML models on microcontrollers. Start today!

www.seeedstudio.com
Seeed Studio XIAO ESP32-C3 
Seeed Studio XIAO ESP32-C3 adopts new RISC-V architecture, supporting both Wi-Fi and BLE wireless connectivities. For Internet of Things applications, you will find it is flexible and suitable for all kinds of IoT scenarios.
www.seeedstudio.com
Seeed Studio XIAO nRF52840 Sense (XIAO BLE Sense)


Seeed Studio XIAO nRF52840 Sense by Nordic is carrying Bluetooth Low Energy 5.4 wireless capability and is able to operate with low power consumption. Featuring onboard IMU and PDM, it can be your best tool for embedded Machine Learning projects.


www.seeedstudio.com
Round Display for Seeed Studio XIAO
This compact expansion board is designed for the Seeed Studio XIAO ESP32 series and features a 1.28-inch fully covered round touch display in a 39 mm disc form factor. It integrates an RTC holder, charging circuit, and TF card slot, making it well suited for interactive ESP32 projects such as smart home interfaces and wearables.
www.amazon.de
https://www.amazon.de/dp/B07BDFXFRK?ref=ppx_yo2ov_dt_b_fed_asin_title&th=1
www.amazon.de
https://www.amazon.de/dp/B0BZSB3SBN?ref=ppx_yo2ov_dt_b_fed_asin_title
www.amazon.de
https://www.amazon.de/dp/B09YYG6BT3?ref=ppx_yo2ov_dt_b_fed_asin_title&th=1
www.amazon.de
https://www.amazon.de/dp/B08215N9R8?ref=ppx_yo2ov_dt_b_fed_asin_title
edgeimpulse.com